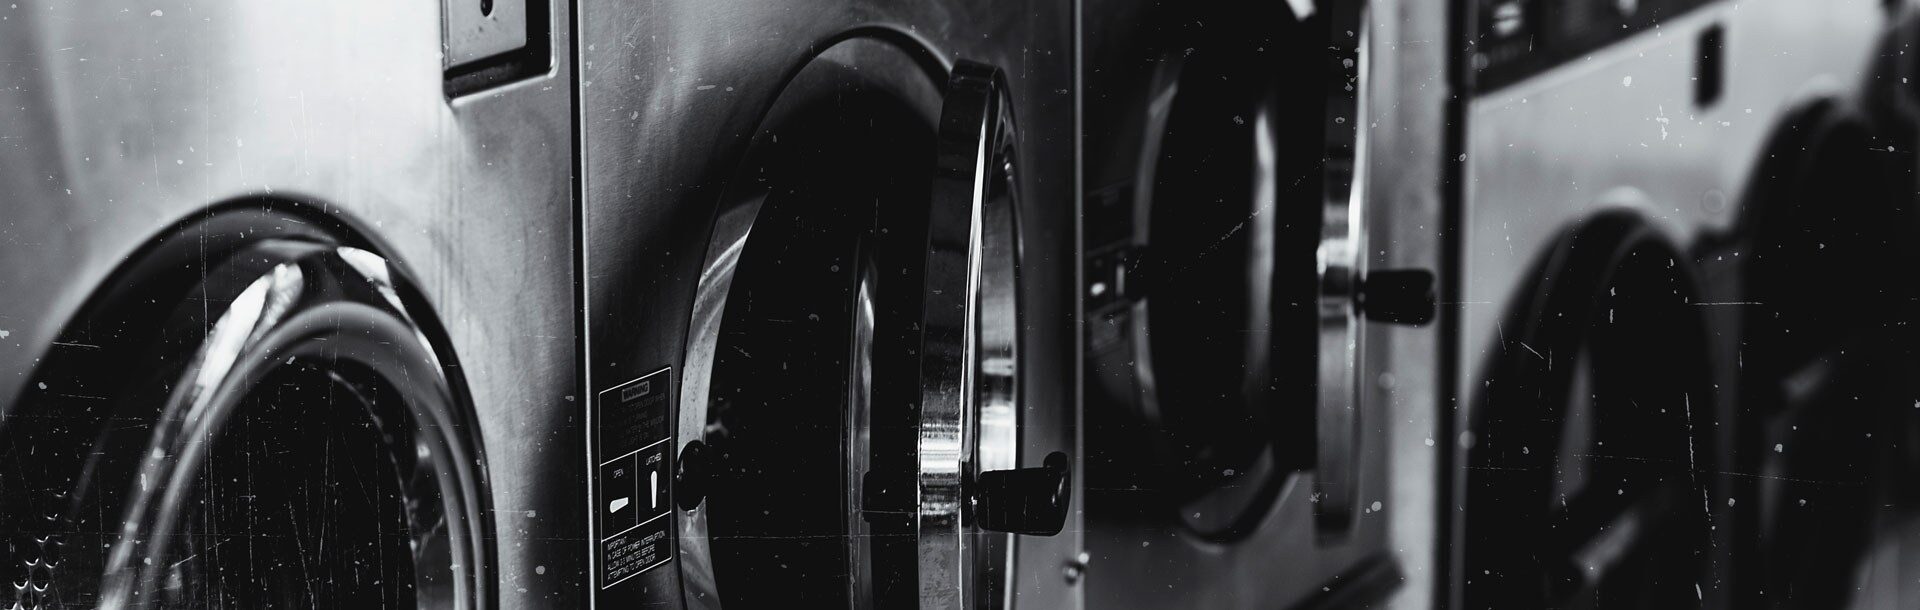
How to Move a Washing Machine: A DIY Guide on Moving Washing Machines
So, you're getting ready to move home. All your most valuable items are safely packed away. Your clothes are neatly folded and ready for transport. Everything is done except the move itself. Or is it?
Suddenly it hits you. Your beautiful new washing machine! The very same one you splurged out on only months ago. "How on earth am I going to move a washing machine by myself", you frantically ask, to no one in particular.
"I can't possibly leave it here; it was far too expensive!"
"Can washing machines even be moved?"
"Aren't the pipes and cables connected to the house?"
"Maybe washing machines aren't supposed to be moved..."
These are just some of the thoughts whirling through your mind. But don't spin out of control just yet, as Caledonia Removals are here with a step by step guide on how to move a washing machine safely.
So, read through the steps, follow the advice exactly, and your washing machine removal problems will float away in the wind. And, if at the end of the day you feel it's still all too much hassle, Caledonia Removals will be happy to move your washing machine for you! (some of you may want to skip straight to that step, as let's face it, moving a washing machine is no easy task).
Getting your washing machine ready to move
One of the key steps to moving a washing machine safely, or any heavy appliance, is to put in the proper preparation work. We've outlined a few important steps to take before any moving or lifting is even close to taking place.
If you want to know how to move a washing machine correctly, it's important to follow each step outlined below, as missing just one could cause tsunami style problems later down the road.
1 - Gather Some Friends
Friend's are great, aren't they? Always on hand to give you advice, provide some laughs and help you move a washing machine.
We know we titled this article "do it yourself", but having an extra pair of hands to help you out will go a long way in moving your washer unit safely and effectively. We would recommend at least a couple of strong extra bodies to aid you in the moving process. This will ease the strain on you and give you someone to talk through any problems that may occur.
If you cannot find any friends or family members, we strongly recommend contacting a removal company to help you out.
2 - Prepare Your Tools
You'll need a few essential tools when preparing to move a washing machine. The first tools you'll need are transit bolts.
Transit bolts, also known as shipping bolts or washer locks, are small metal rods inserted into designated slots found behind a washing machine. These transit bolts help to keep the drum immobilised and stabilised during transportation.
When in a moving vehicle, the drum suspension mechanisms in your washer drum are highly susceptible to damage from the sudden jerking motions that happen when on the move. It's imperative to correctly insert these transit bolts that your washer would've come with when you first purchased it. Without them, it's almost guaranteed your washer will be damaged during the move.
The second important tool you'll need to move a washing machine safely is an appliance dolly. An appliance dolly will be essential in moving your washing machine out of your house and into the moving van. Even with multiple people around, a washing machine is still a dangerous and challenging household appliance to move by lifting only.
You'll be able to find an appliance dolly for a reasonable price at a local home appliance store, or you could consider renting one from your removal company. Buying an appliance dolly is probably the smarter move, however, as they can help you out when moving other large household appliances before, during and after a move.
3 - Read Your Owner's Manual
Remember your user's manual that you poured over after your initial purchase? You're going to want to look that out. Whilst it's not essential for a successful washing machine move, it will certainly help to know what pipes are and how to remove the washer unit from the wall safely.
If you're unable to find your owner's manual, type in your washer's name and make into Google. You'll be sure to find something.
4 - Secure the Necessary Supplies
Some extra supplies to help you move your washing machine are listed below. These include:
- Thick blankets or old towels
- A small bucket for catching any excess water
- Slip joint pliers to disconnect the drain hose safely
- Rope or bungee cords to secure the washer in an upright position
- Packing tape or duct tape
- Spare plastic bags or a cardboard box for extra precaution.
A step by step guide on how to move a washing machine
So you've done all your preparation to get your washing machine ready to move, the next step is the move itself.
The first part of the actual moving process ensures the washing machine is fully disconnected and safe to transport. Let's look at the individual steps needed to do this safely and effectively.
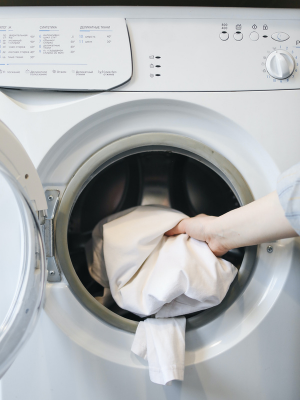
Step 1 - Double-check your washing machine is empty and free of any loose strings or spare garments
Step 2 - Clean the inside washer drum. This can be done by simply applying some bleach and running your washer on a short wash cycle. Some washing machines have a designated clean cycle for this exact purpose.
Step 3 - Turn off the power by switching off the mains and removing the power cable from the wall socket. This will usually be found at the back of the washing machine, so you may need to pull it out from the back wall.
Step 4 - Turn off the water supply by locating the water supply valve. Turn the valve clockwise to switch off the water supply. In some cases, you may need to pull out the washer a little bit to access the water valve.
Step 5 - Drain the water supply hoses one at a time. To drain both the hot and cold water supply hose, use the slip joint pliers and disengage the drain hose fully. There will most likely be some leftover water in the hoses, so empty these into the bucket you've prepared. Make sure you deal with each water supply hose separately so as not to cause confusion.
Step 6 - Remove the water supply hoses. Remove these hoses entirely from the machine and carefully place them in a plastic bag. Place some tape around the bag to seal it and keep it with the rest of the parts.
Step 7 - Empty the drain hose by disconnecting the washers drain hose from the other hose that leads to the wastewater canal, if applicable. Again, you will need to empty the excess water from the hose into the bucket. You should keep the drain hose attached to the back of the washing machine, but consider taping it securely to the frame, so it doesn't dangle or get mixed up with any of the other hoses or cables.
Step 8 - Secure the power cord to the back of the machine using some more of the tape. Again, an excellent precaution to take to ensure optimal safety and keep all parts together and in full working order.
Ideally, all the above steps should be carried out at least 24 hours before the move itself. That way, your washing machine has had sufficient time disconnected from any water systems and power supplies.
The following steps in the moving process are all about securing the washing machines safety and moving it into the vehicle. Let's have a look below.
Step 9 - Correctly insert the transit bolts. That's right, those pesky little bolts we warned you about are about to come into use. You should never move a washing machine without the shipping bolts in place, so really take some time to make sure all the bolts are correctly fitted. Have your user's manual at hand for this stage if possible, as it'll help make sure the transit bolts are fitted in the correct positions.
Step 10 - Gather those trusty helpers. Now's the time for your friends to shine. Most of the work up to now could have been completed by you, but for this next part, you'll need some help.
Together with your helpers, inch the washing machine away from the wall until it's in a more favourable position to lift onto the appliance dolly. However, before making the lift, you should cover the washing machine in those thick furniture blankets you prepared; this will help keep it extra safe during the move and protect it from any unsightly marks or scratches. After the blankets have been wrapped, you can secure them with a rope or bungee cord.
Step 11 - Load it onto the dolly. Easy does it with this step. The washer needs to be lifted enough for the dolly to slide underneath. Try tilting the washing machine backwards whilst another member of your team pushes the dolly forwards. Once it's sitting pretty, use some more rope or bungee cords to secure it to the dolly.
Step 12 - Gradually move the washing machine and dolly out of the home and in the direction of the moving van. Keep the furniture dolly balanced at all times. Have one person pushing whilst the other walks ahead, clearing the way and helping to keep the dolly steady. If you're moving the washing machine downstairs, take extra precautions and go as slowly as you can.
Step 13 - Finally, load it onto the moving truck! Use the loading ramp to carefully manoeuvre the dolly and washer onto the moving vehicle.
Remember to keep the washing machine upright throughout the transition and be firm that it should stay this way once loaded onto the vehicle. Turning the washing machine on its side could cause irreversible damage, even if all the other steps have been followed.
Step 14 - Strap it to the side of the van. Try to give the washing machine enough space whilst still ensuring it doesn't slide or move whilst in transit. The easiest way to do this is by using more rope or a cord to strap it to the side of the vehicle.
Every extra safety step you take will help ensure your washing machine is unloaded as good as new when it gets to the other side.
A local moving company you can trust
So maybe you've gotten to the end of this article with a new steely determination that you can move your washing machine all by yourself. You feel fully equipped with all the knowledge you need on how to move a washing machine, and you can't wait to give it a go.
Or... maybe not.
If you're still feeling hesitant or unsure about moving your washing machine by yourself, why not utilise the expertise of a professional moving company such as Caledonia Removals.
We'd be more than happy to move a washing machine on your behalf. Whether you're looking for storage, a single washing machine removal or a complete removal service for moving house, we're here to help!
Please contact our team today to discuss any of your moving needs. We'd be more than happy to hear from you!
